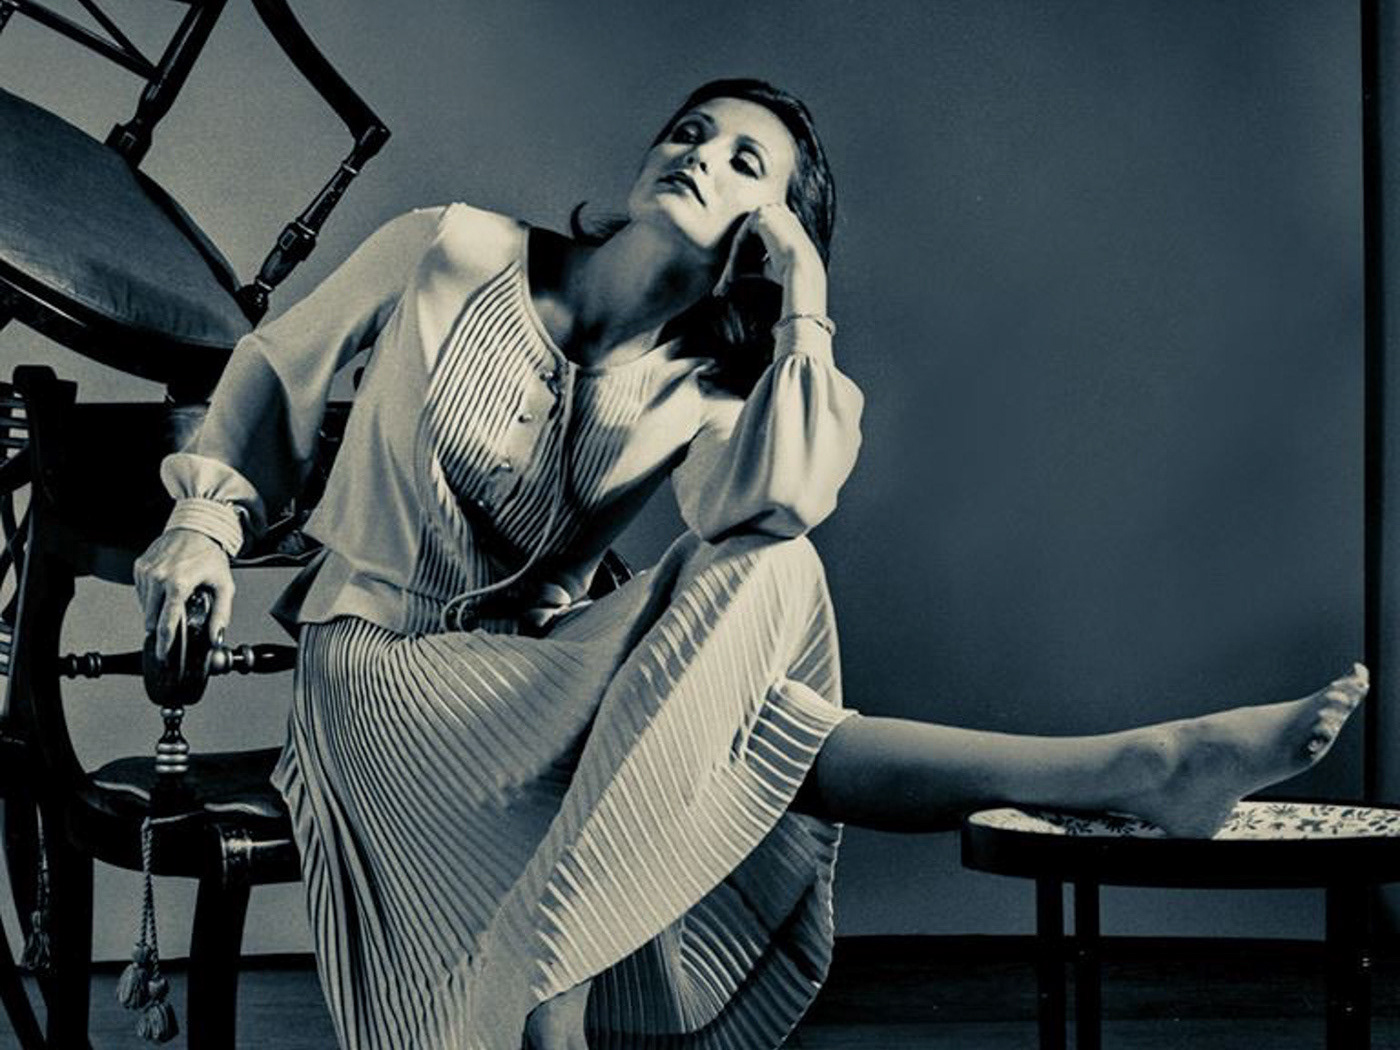
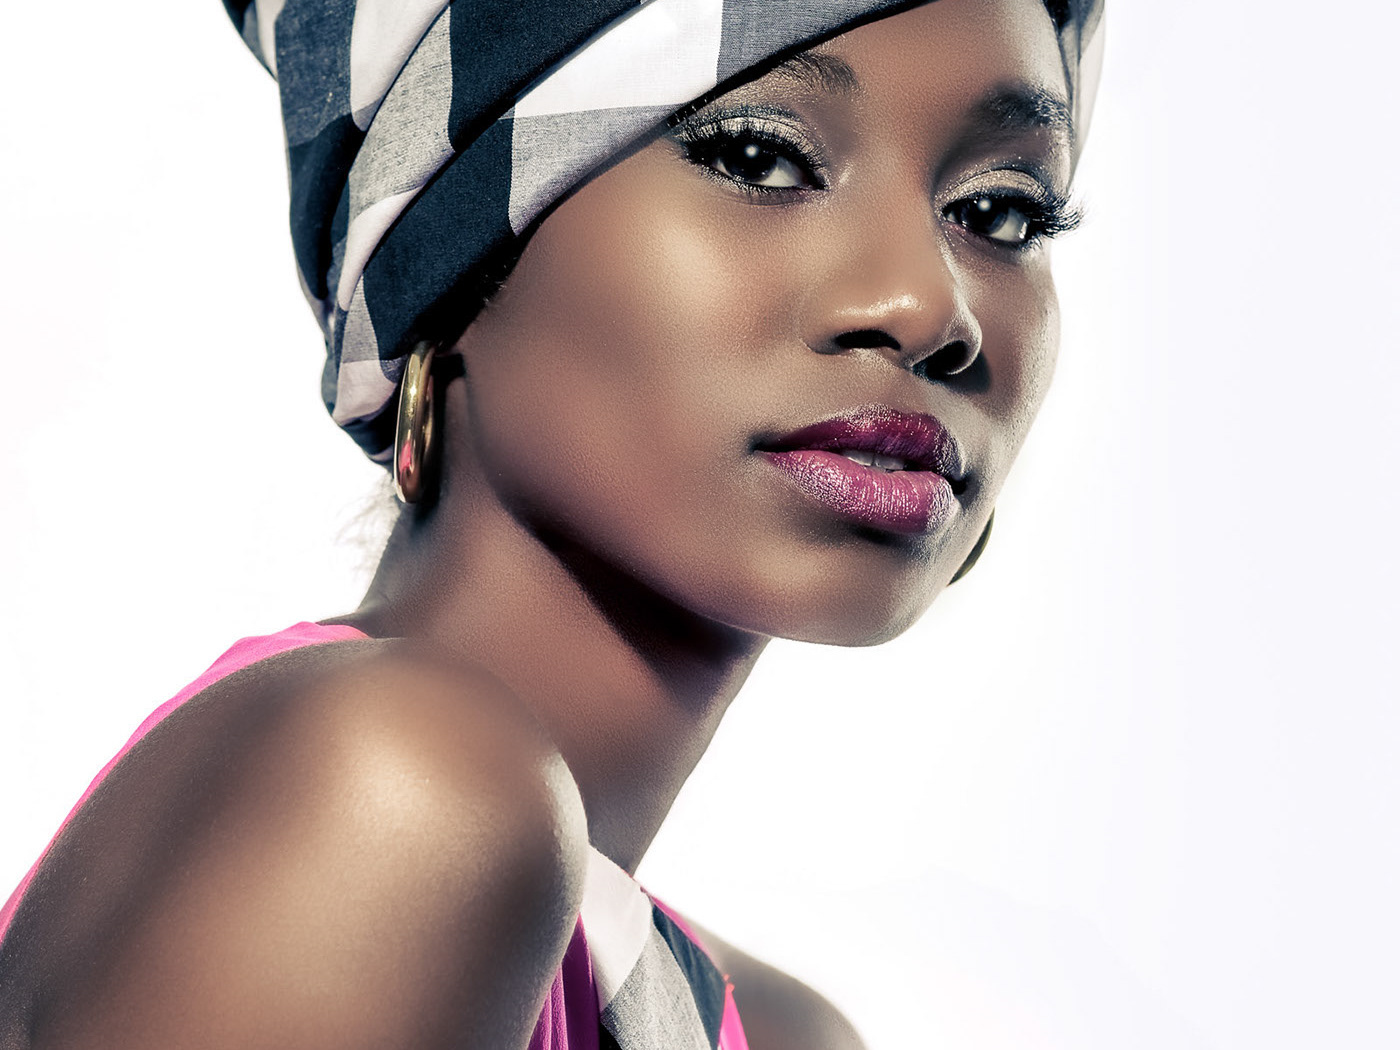
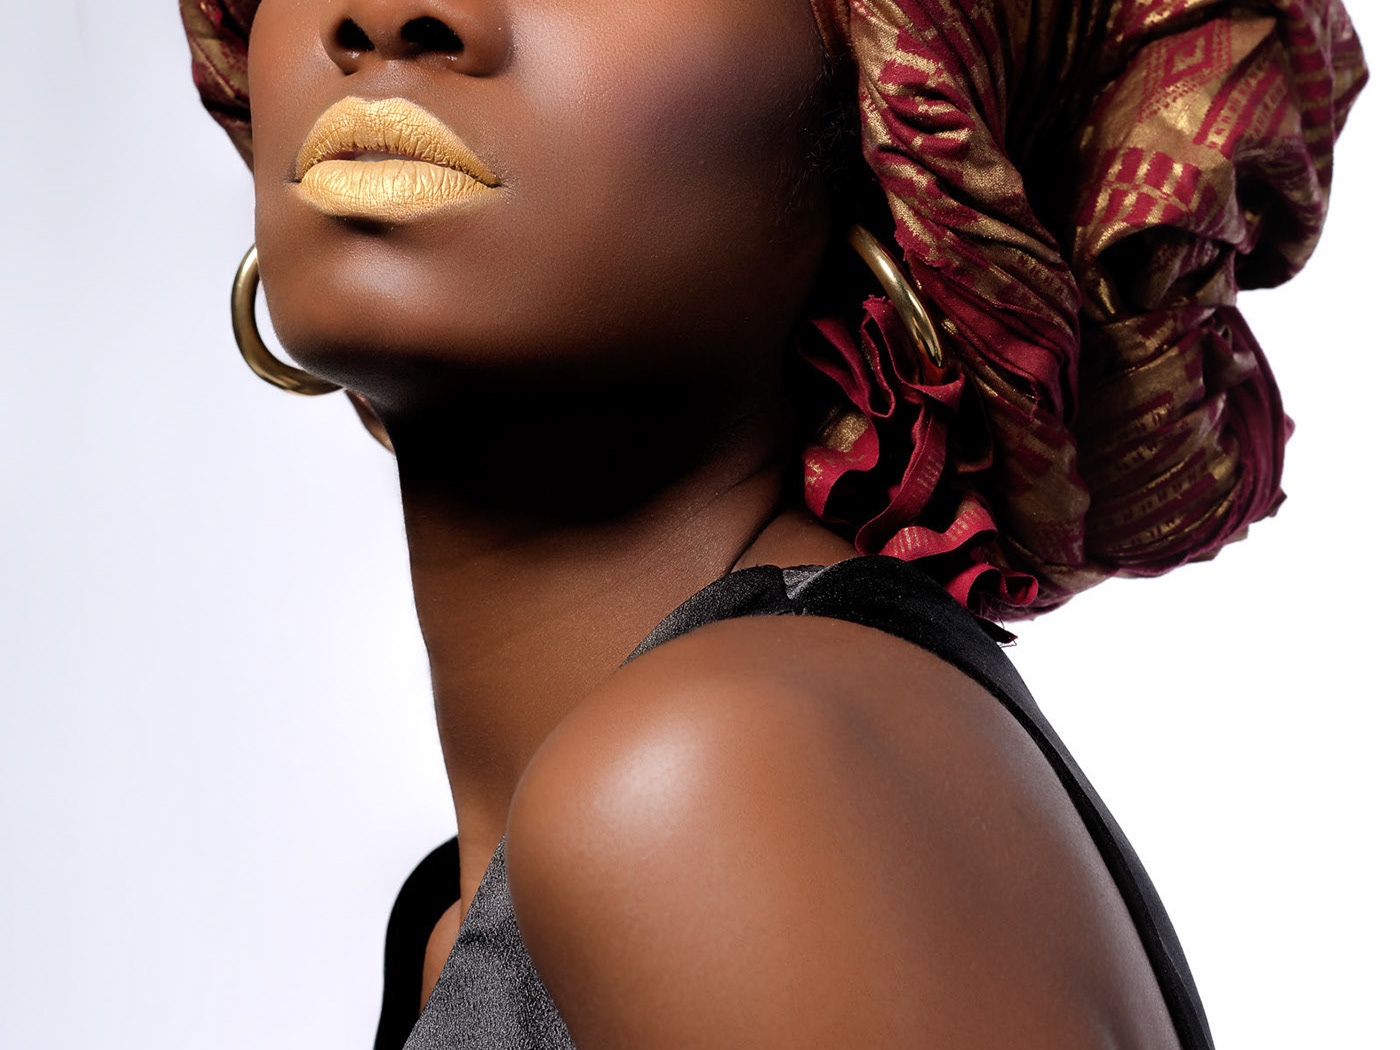
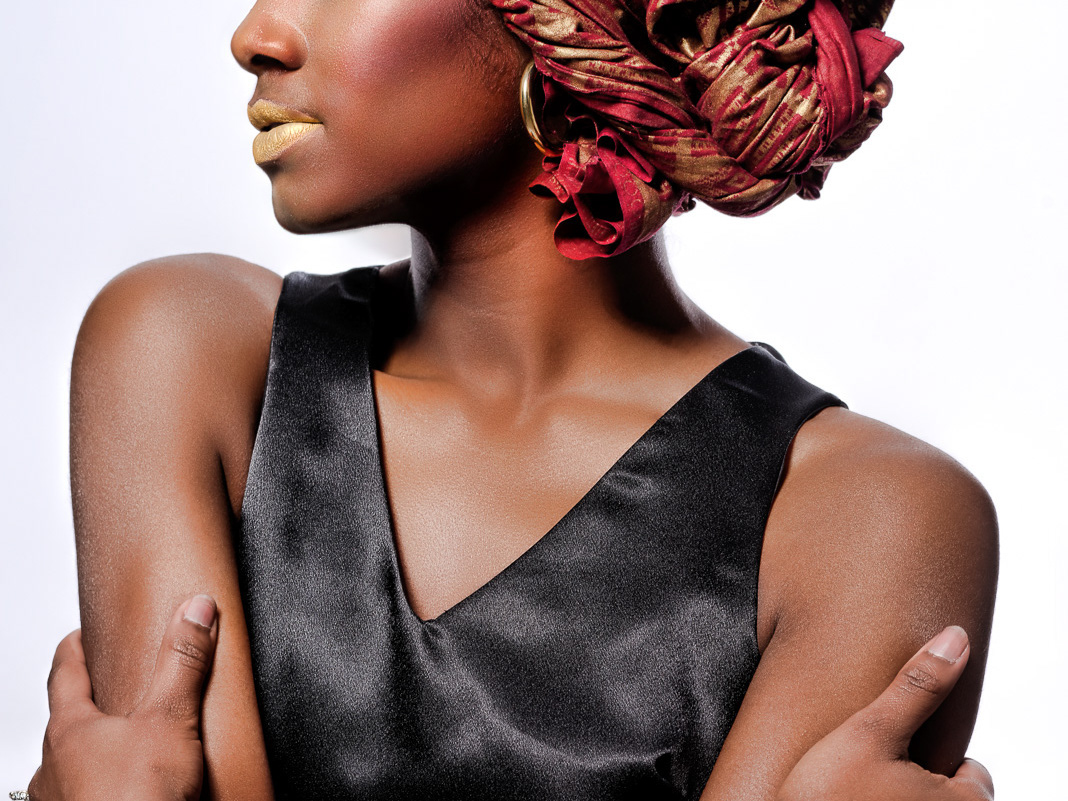
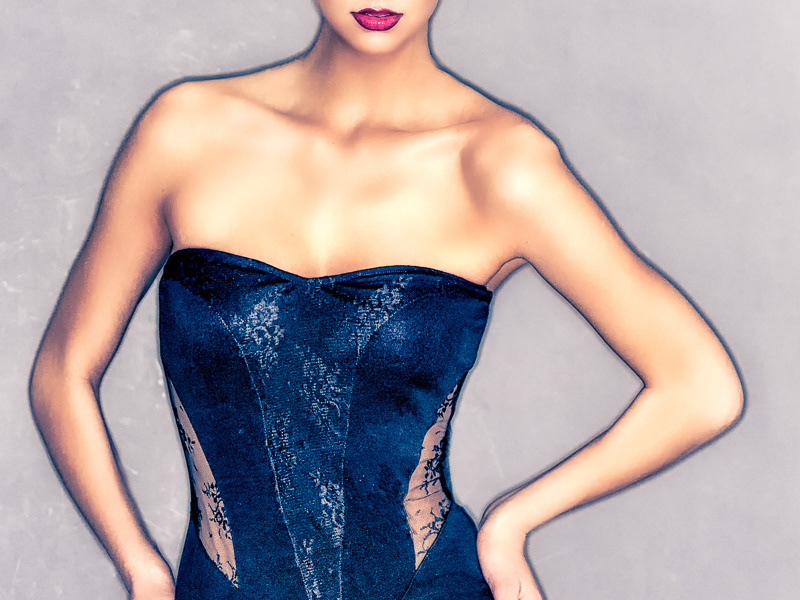
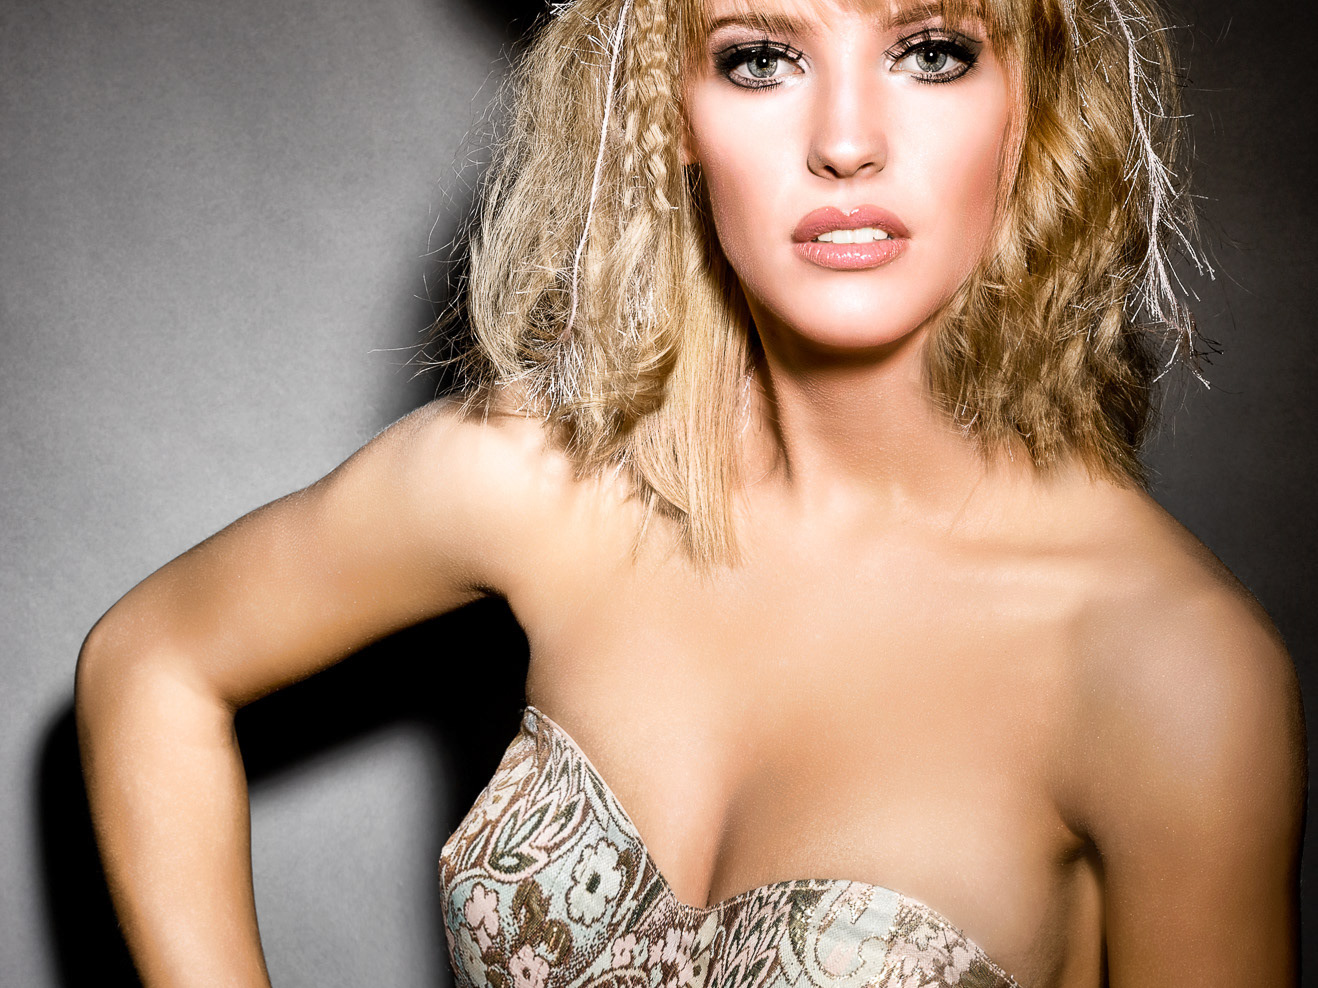
Fashion 1975-1995
2019
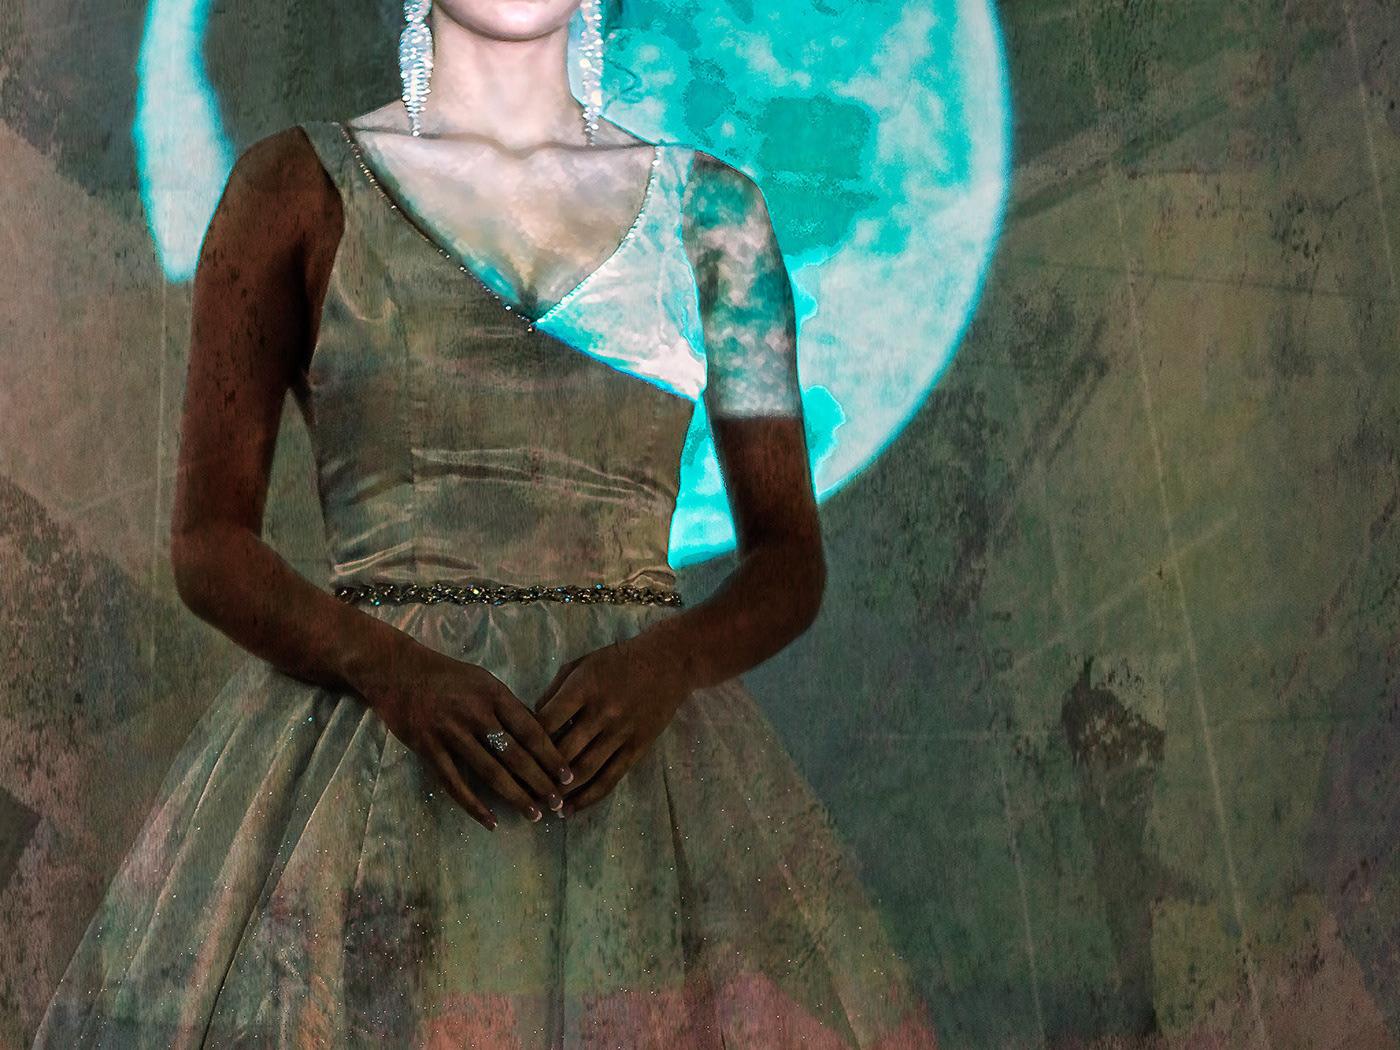
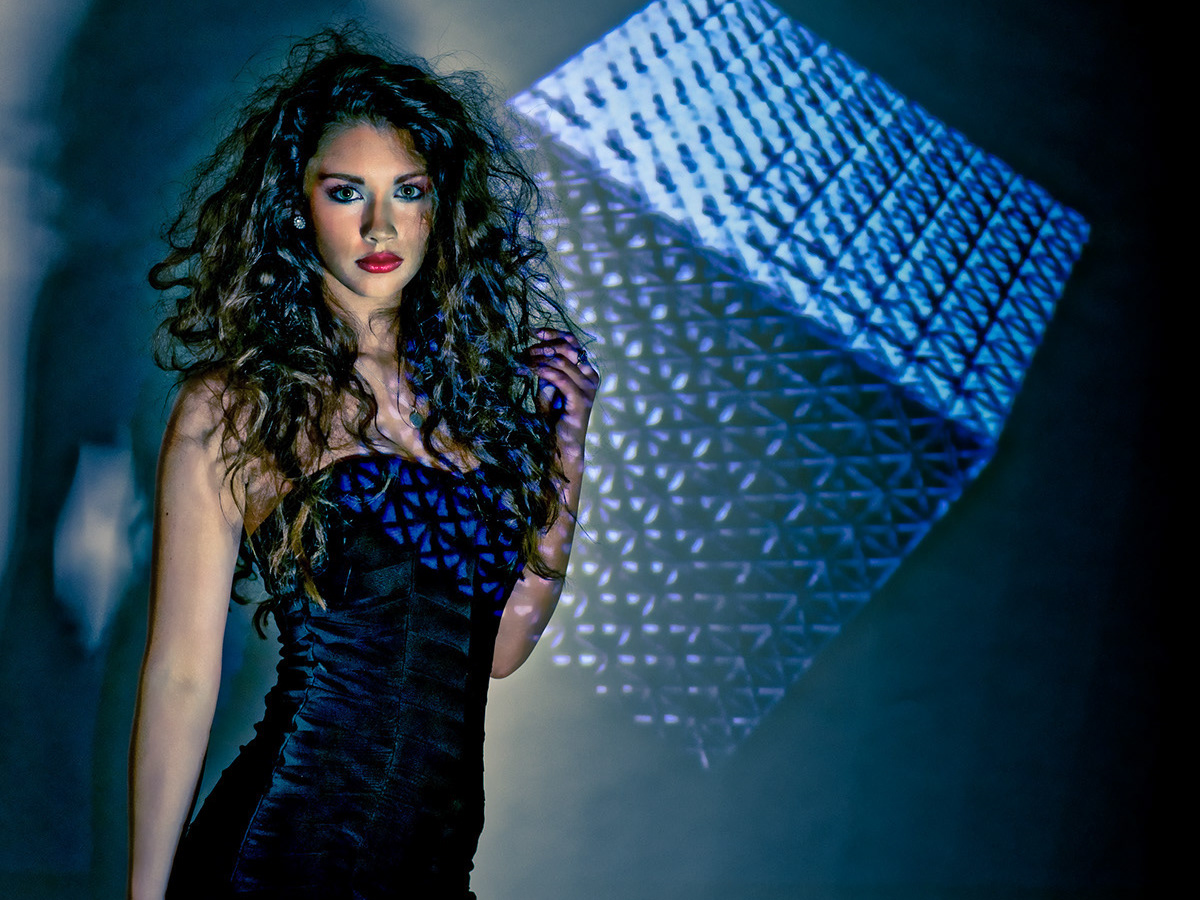
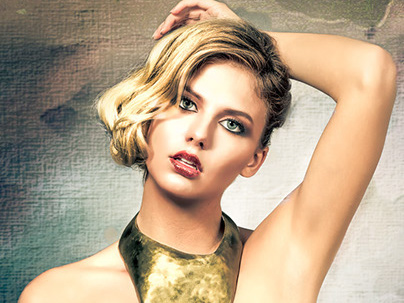
Front Projection with Grace Beavin, 2018
2018
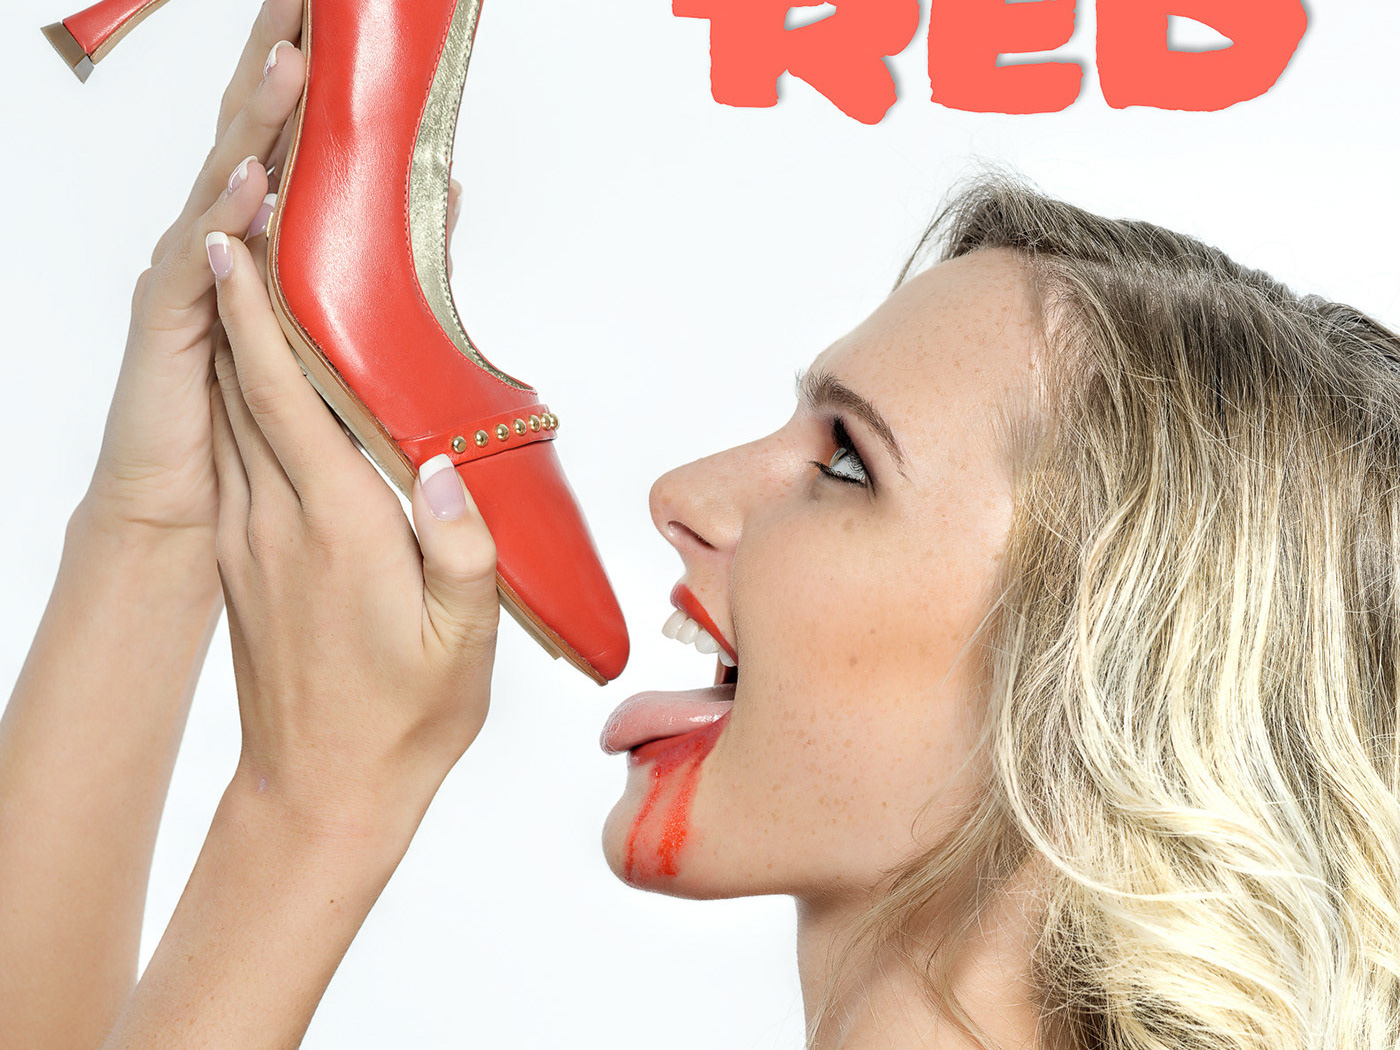
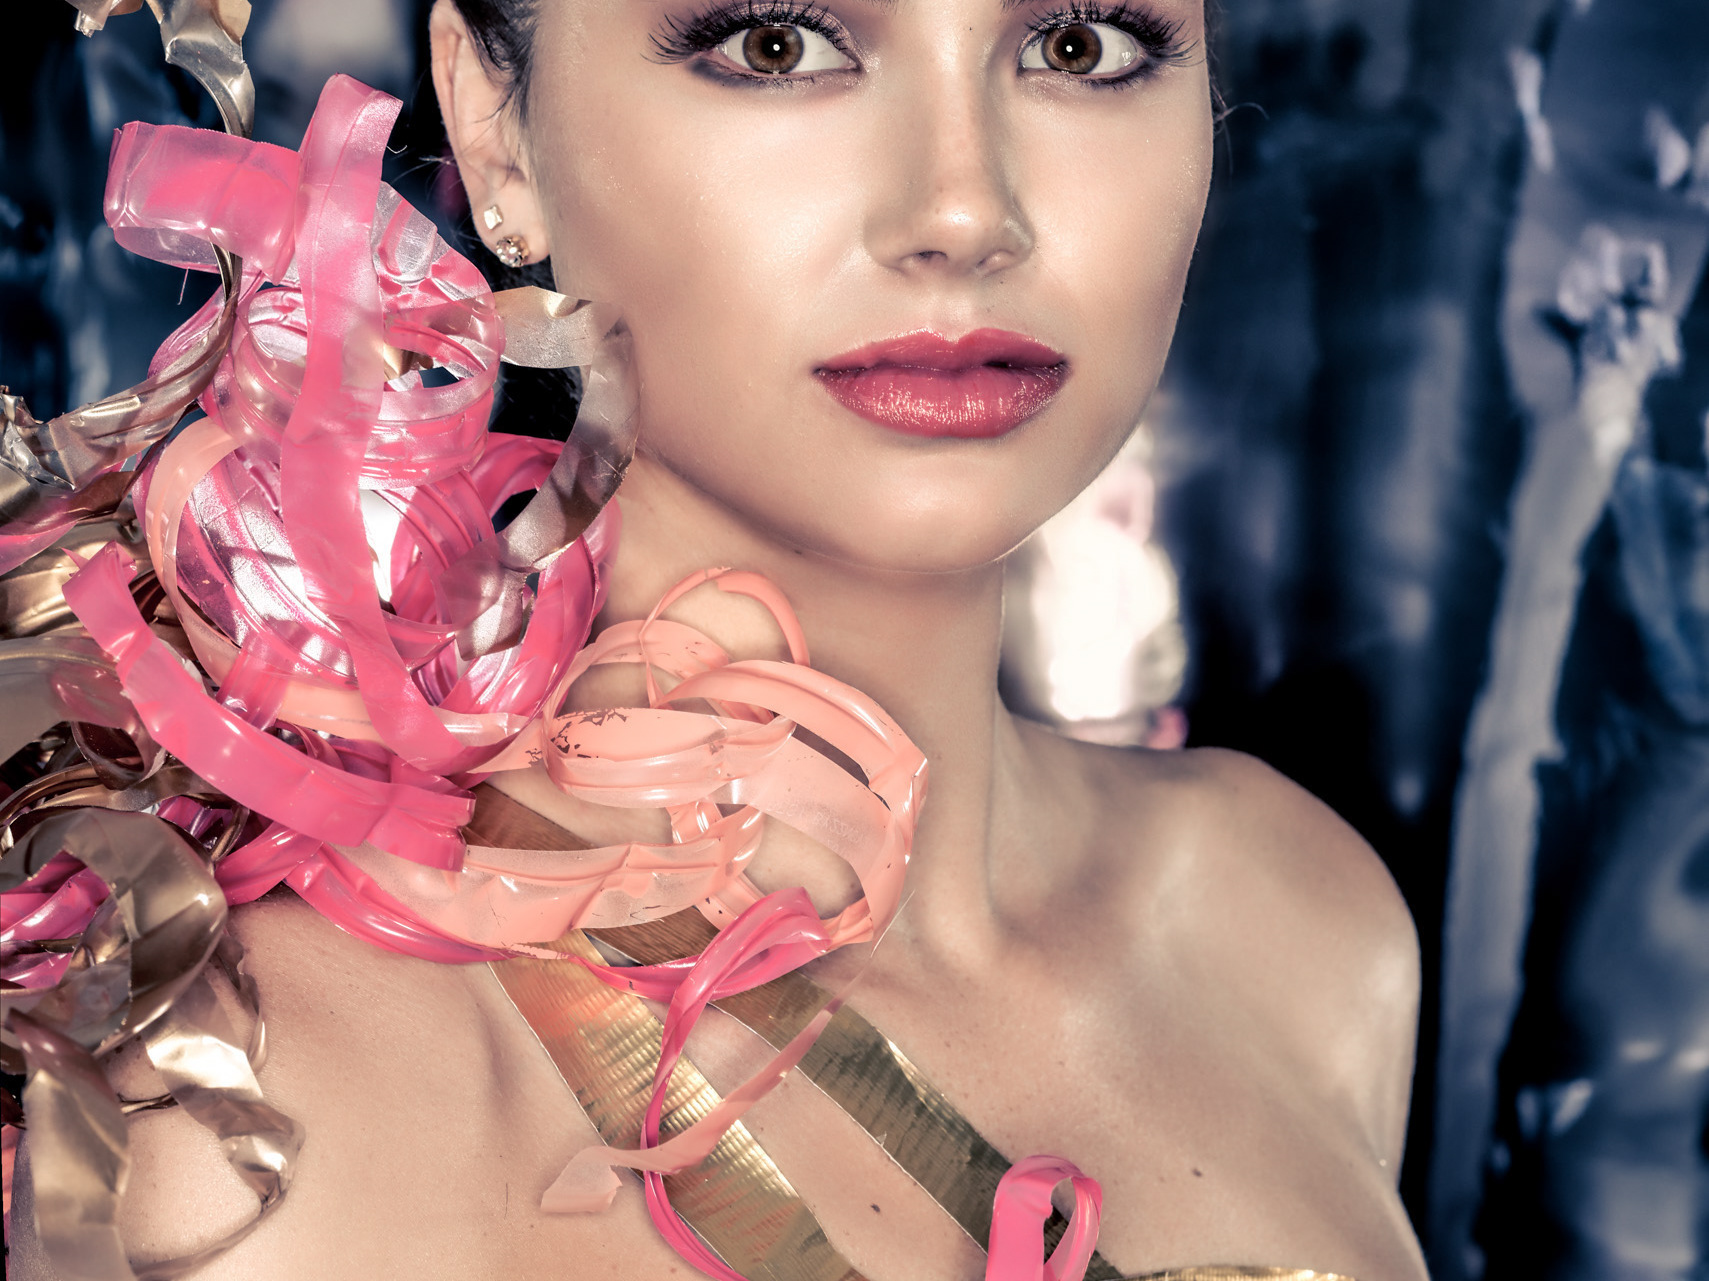
RED from Claire Flowers
2018
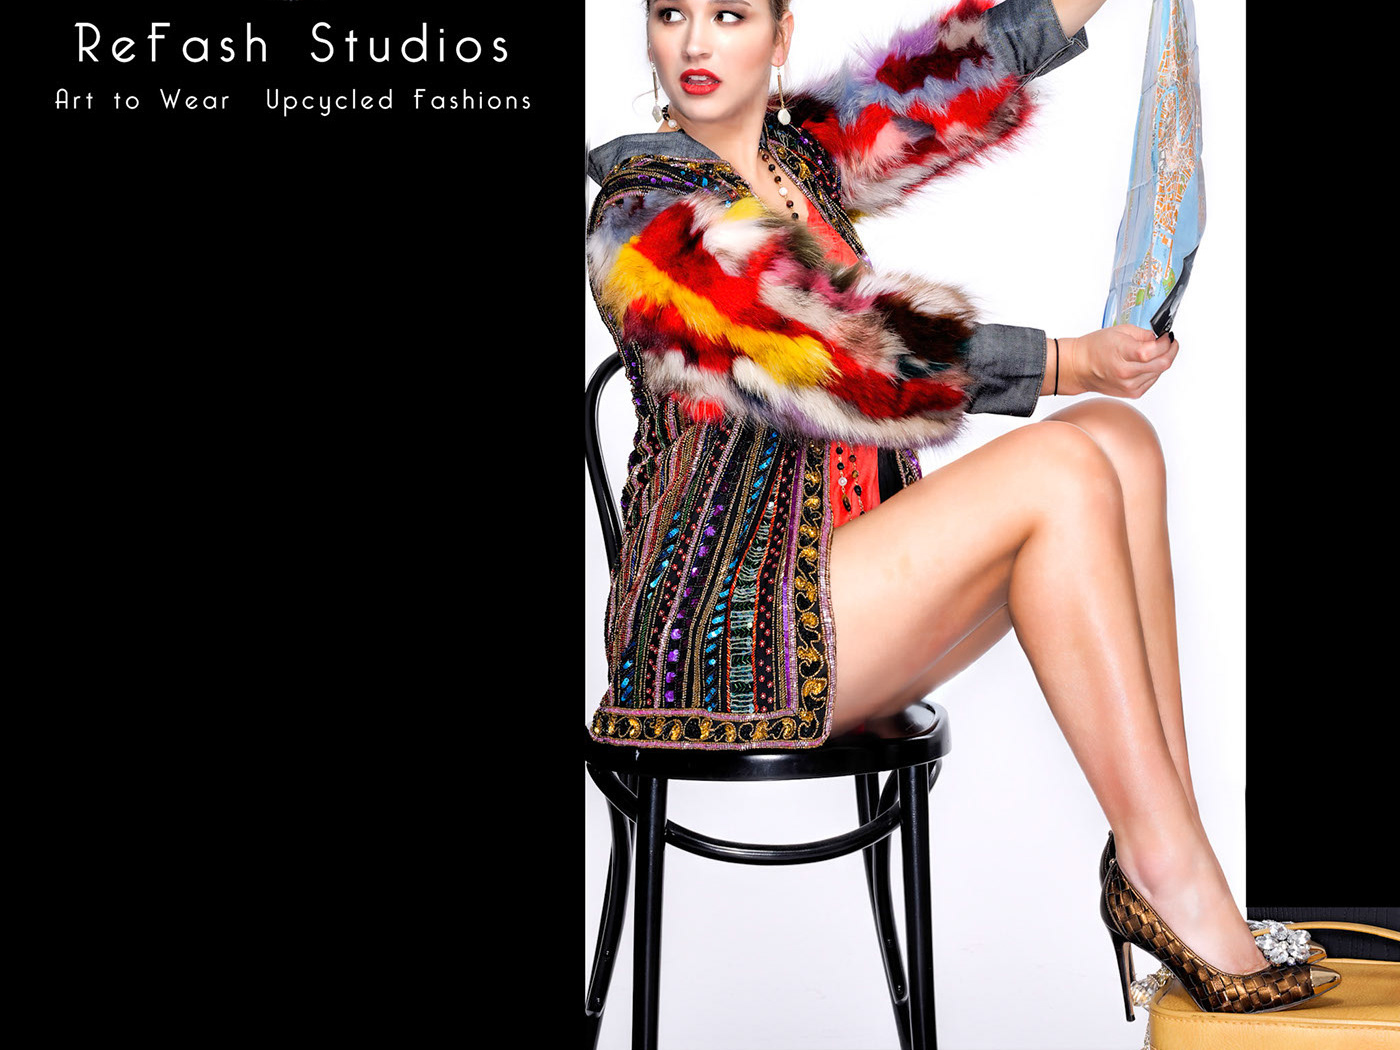
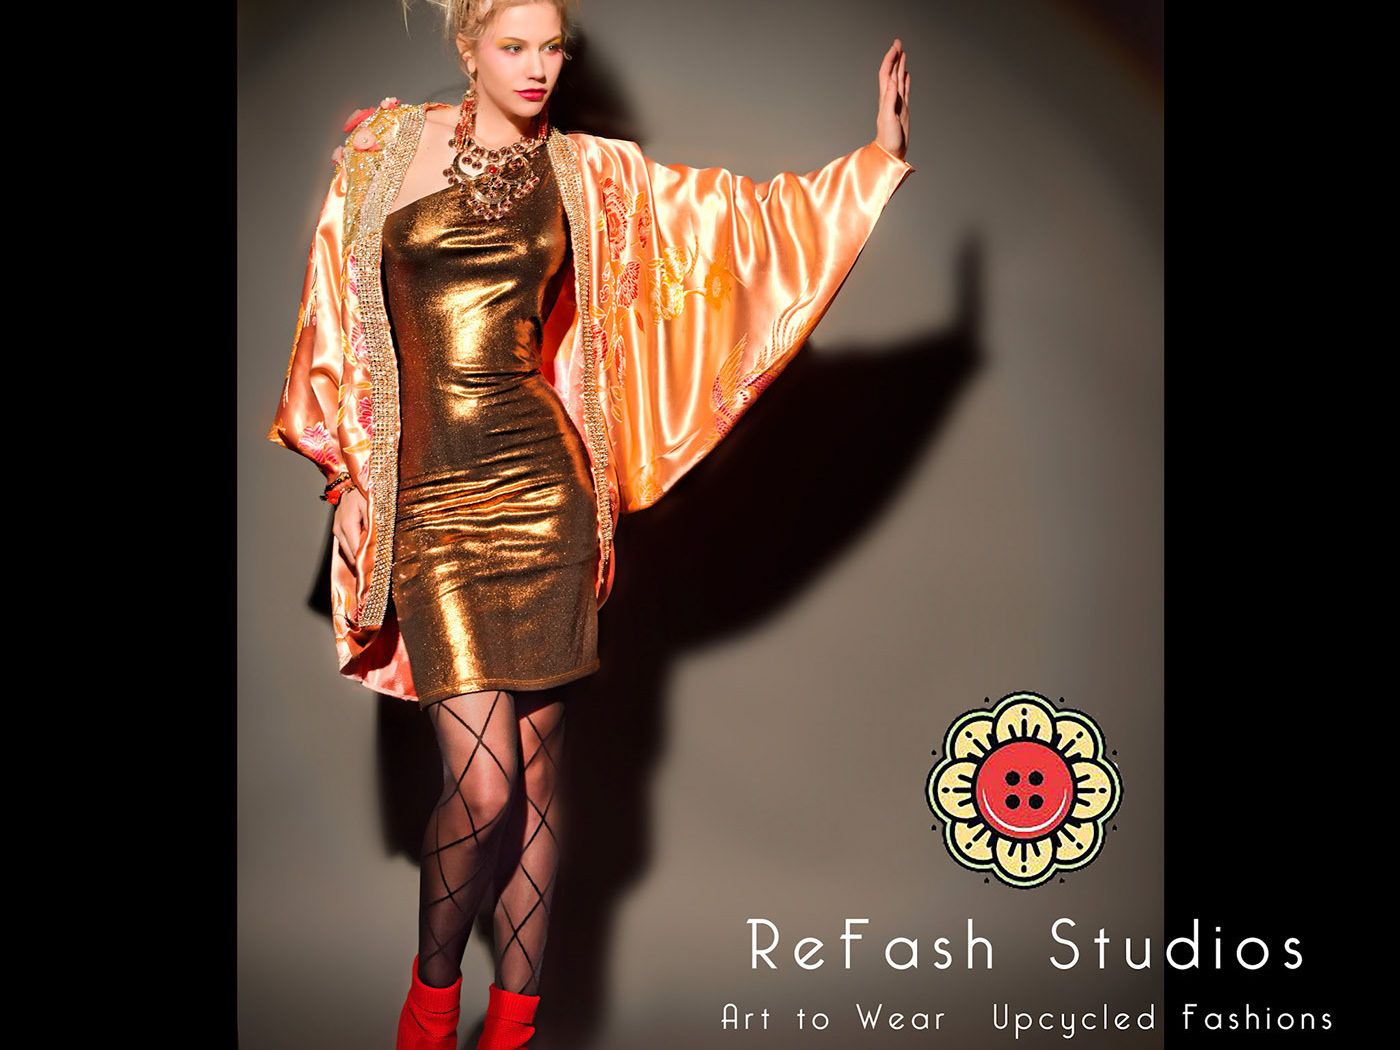
ReFash Studios 2018 Valentine's Day Furs
2018
Barbara Bultman 2017
2018
ReFash Studios Session 1
2017
CAMSTL Open Studio Tour
2017
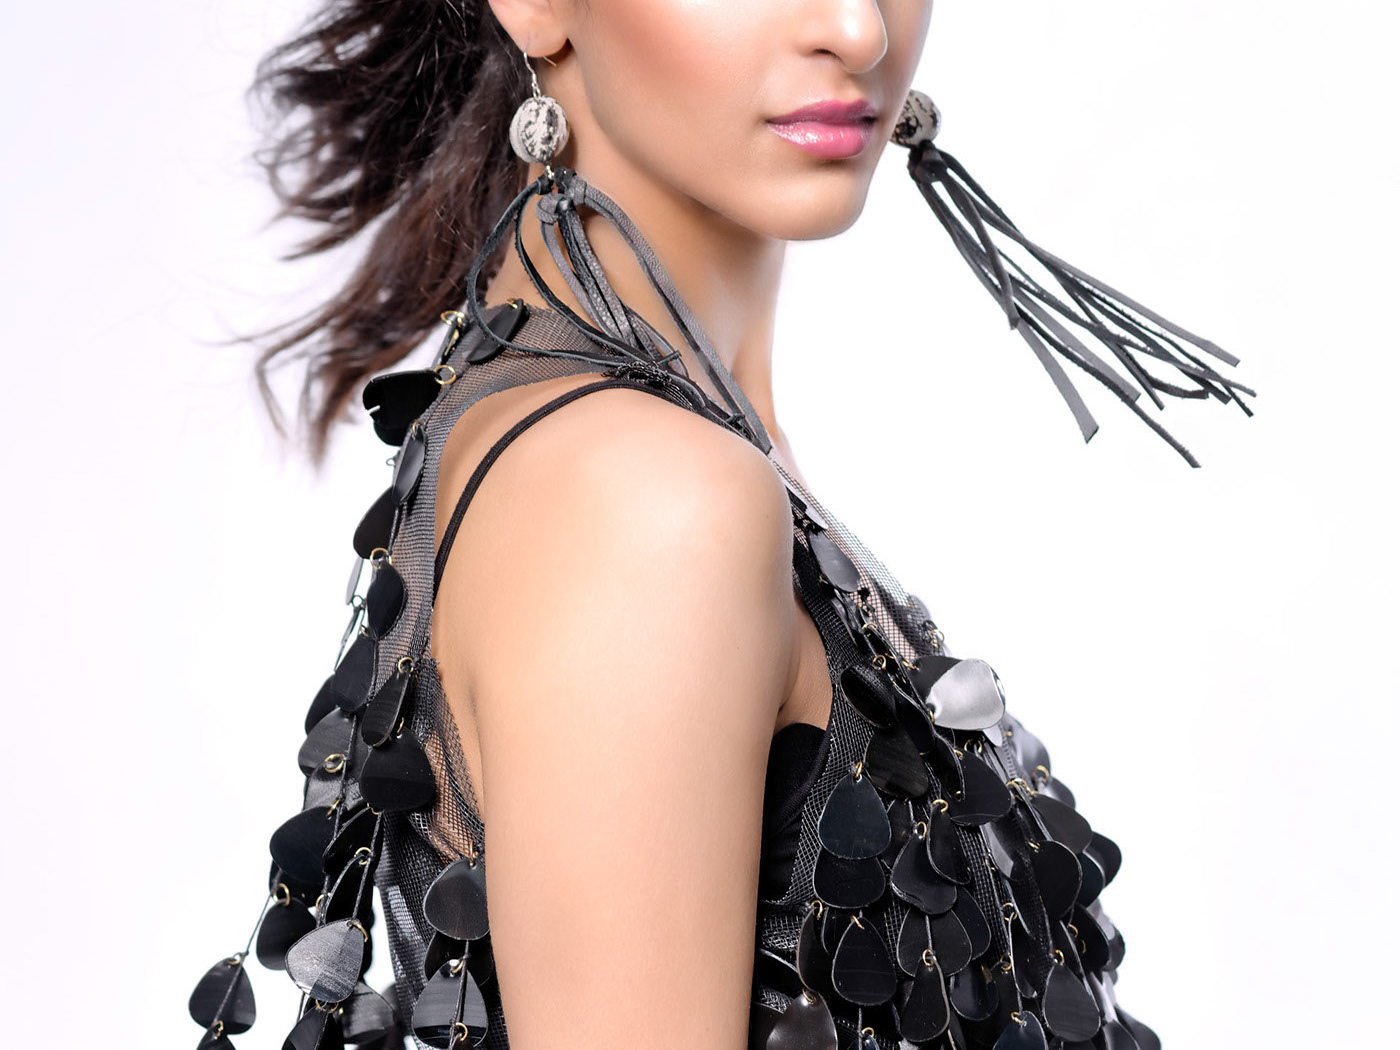
Alexis Cook: Unconventional Materials Challenge
2017
Alexis Cook Design #2
2017
Designer Alexis Cook
2017
Zaria MacDonald
2017

Paul Mitchell Color Contest Entry
2017
Suzanne Lay Body Suit
2017

Earring with Jazz Jones
2015
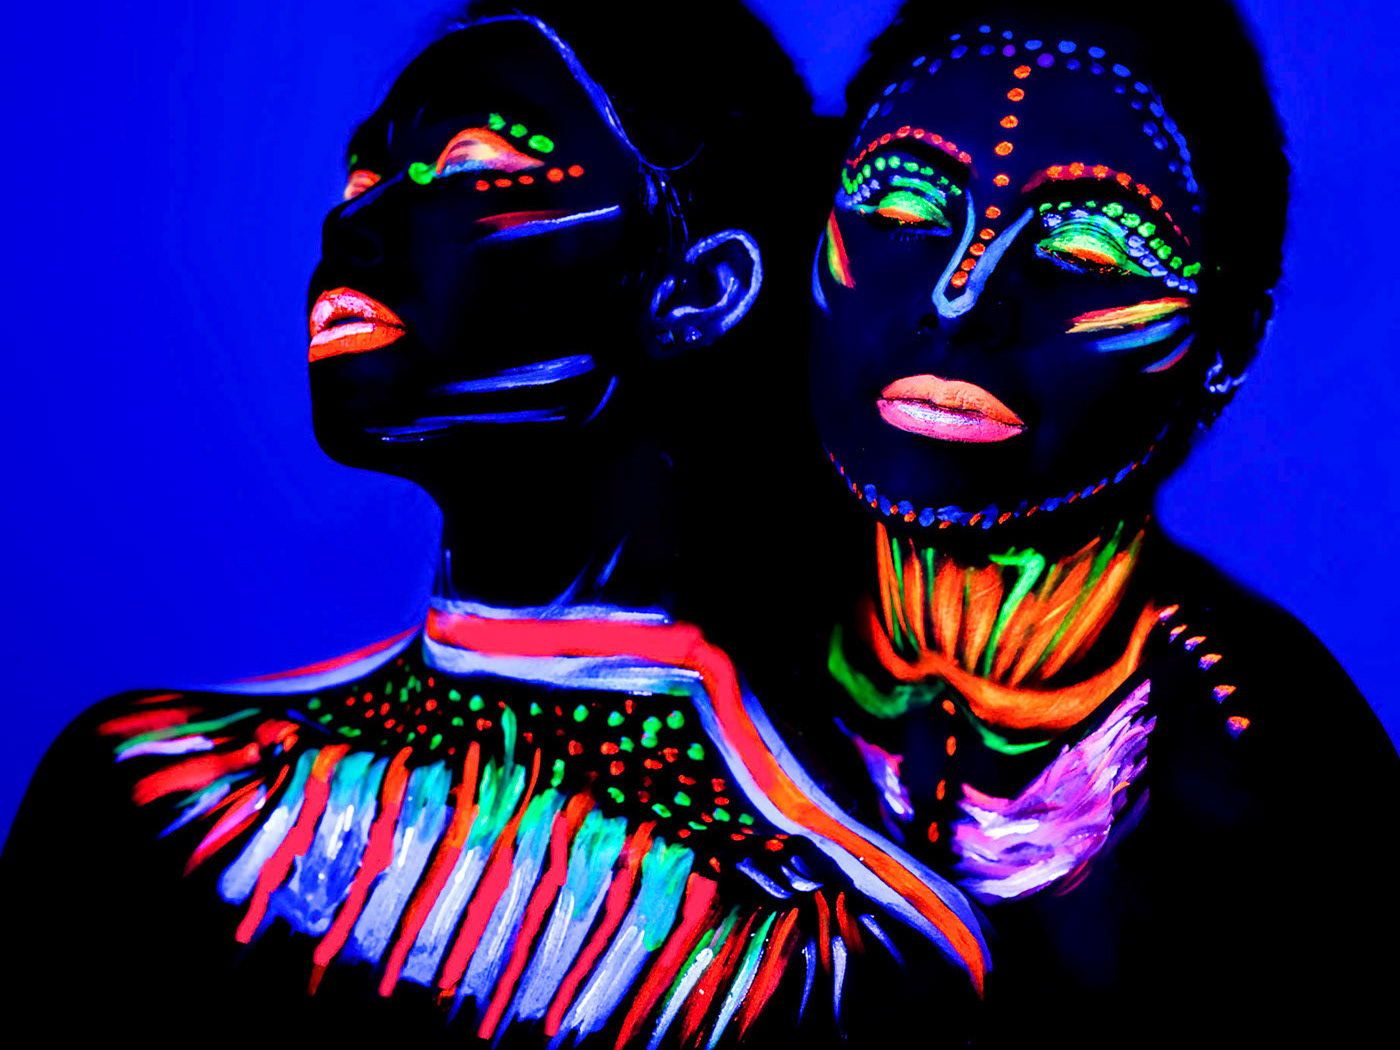
#neonmakeup
2017

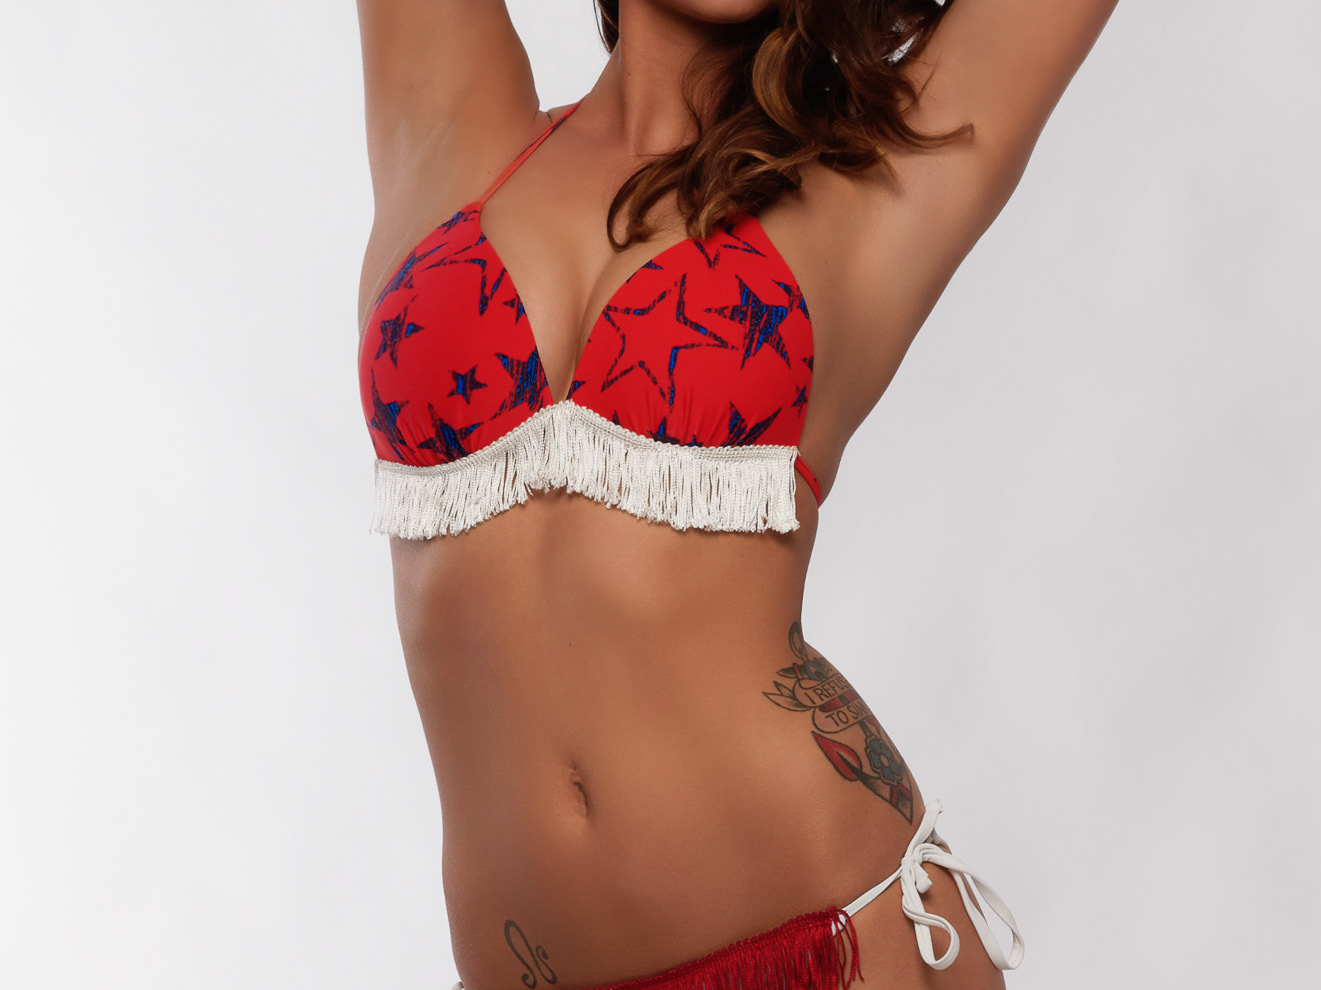
#reddress
2017
Projected Patterns with Anne M.
2016

Preston Page Photography Screen Saver #1
2016

Anne In the Spotlight - Variations
2016
Mimi Graczyk/Hyper Haute Redux
2016
Paul Mitchell School - Image #1
2016

Morgan Hanephin Hair, Makeup, Spotlight Test
2016

Abigail Scherer - Hair/Makeup/Spotlight Test
2016
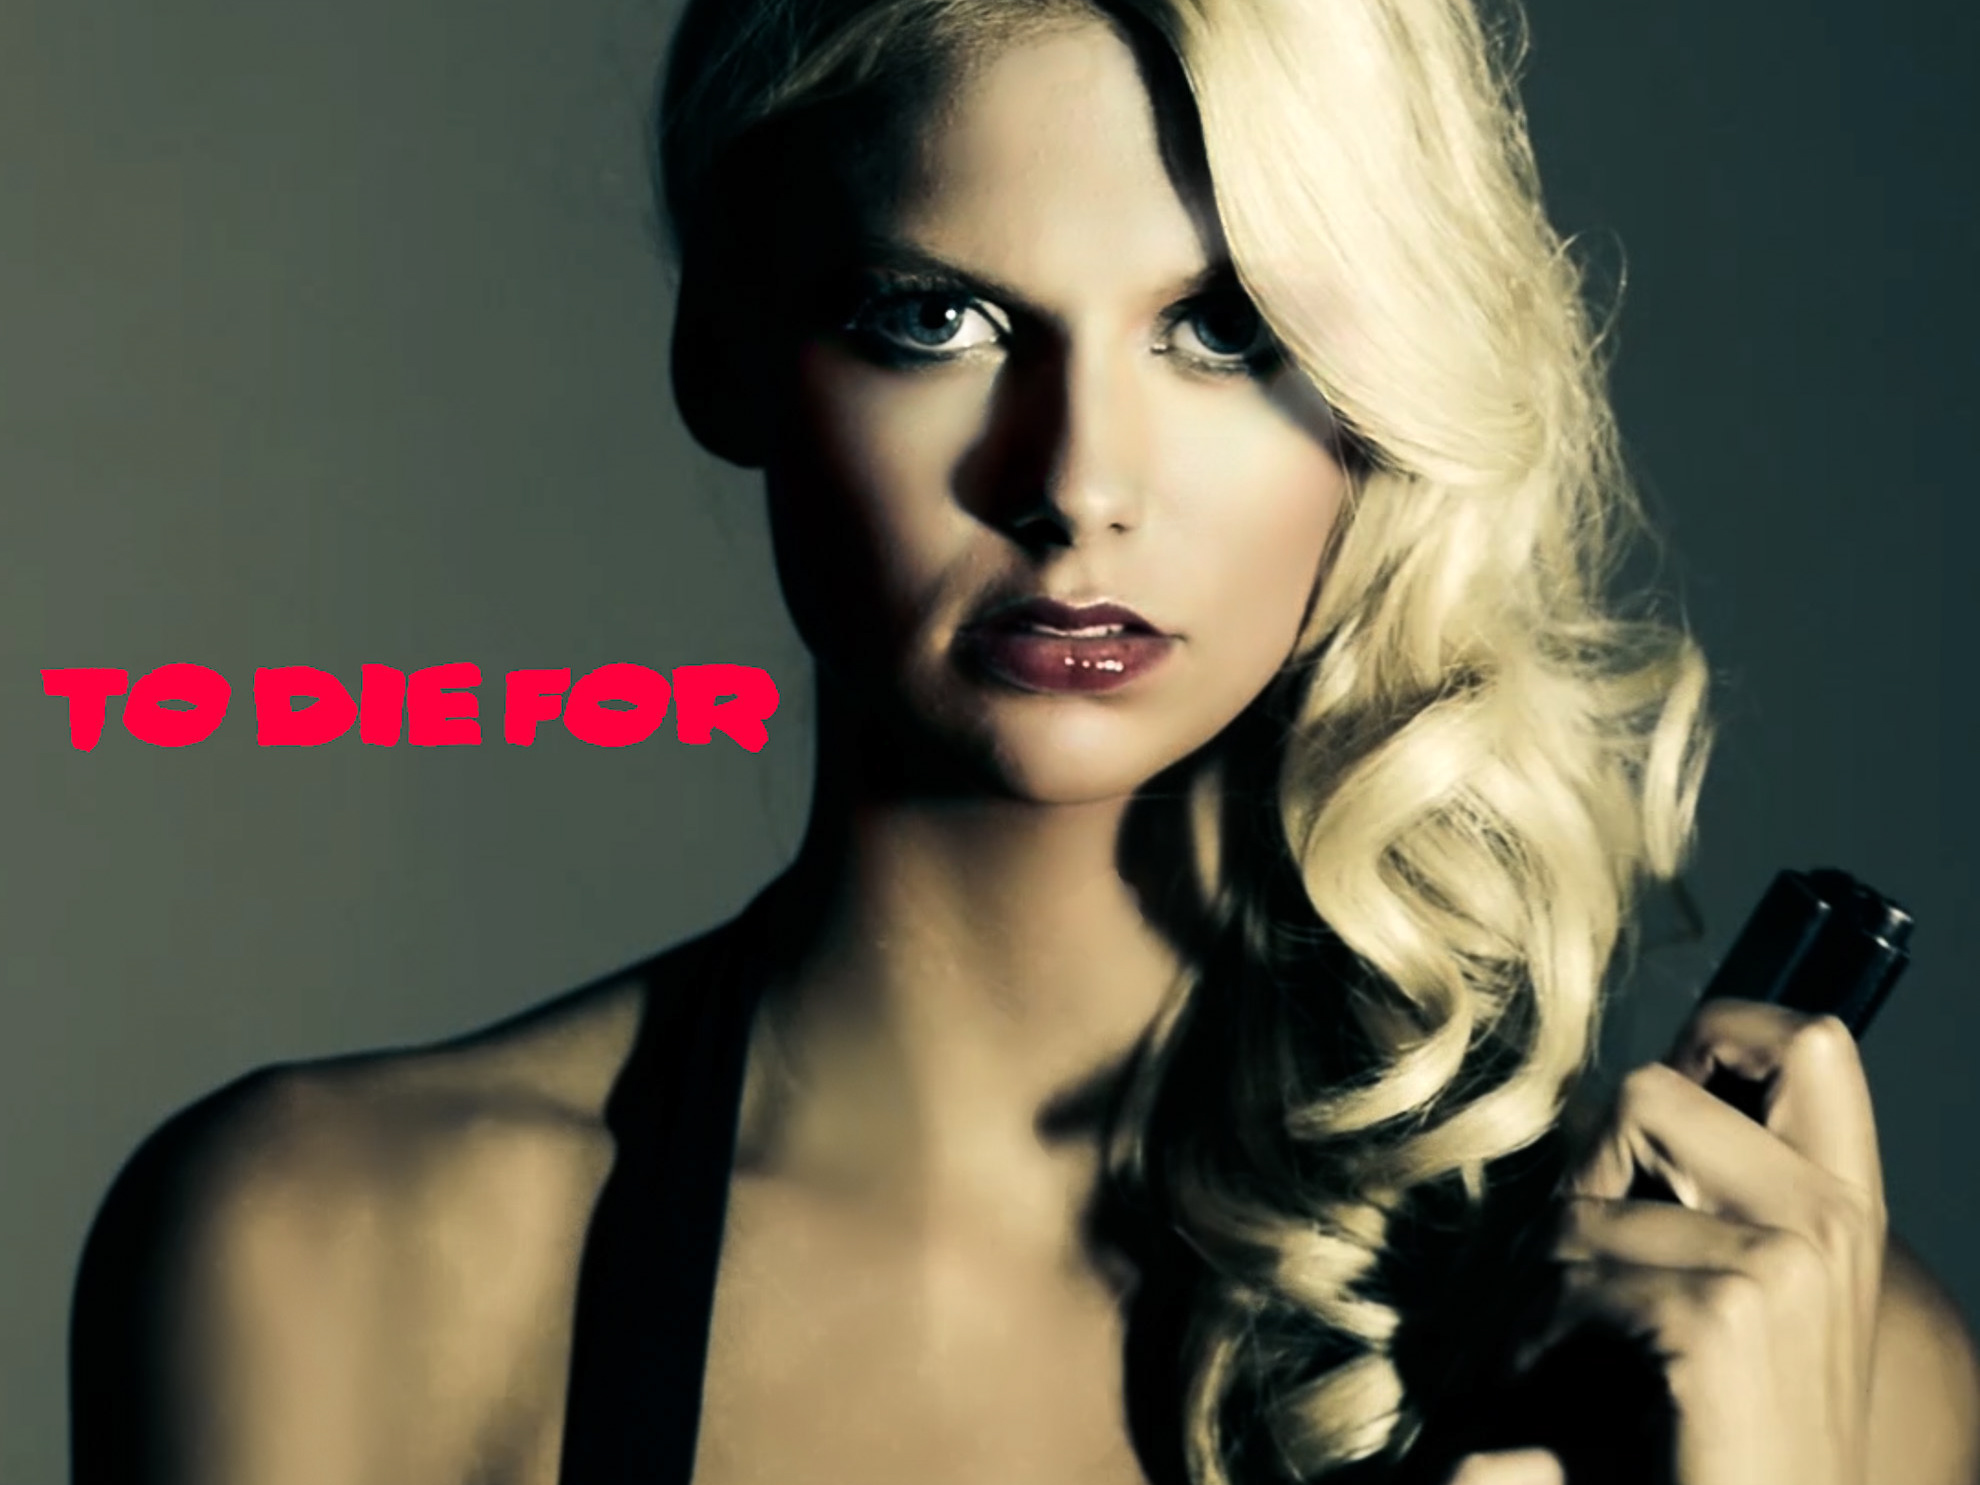
To Die For Lighting Test
2016
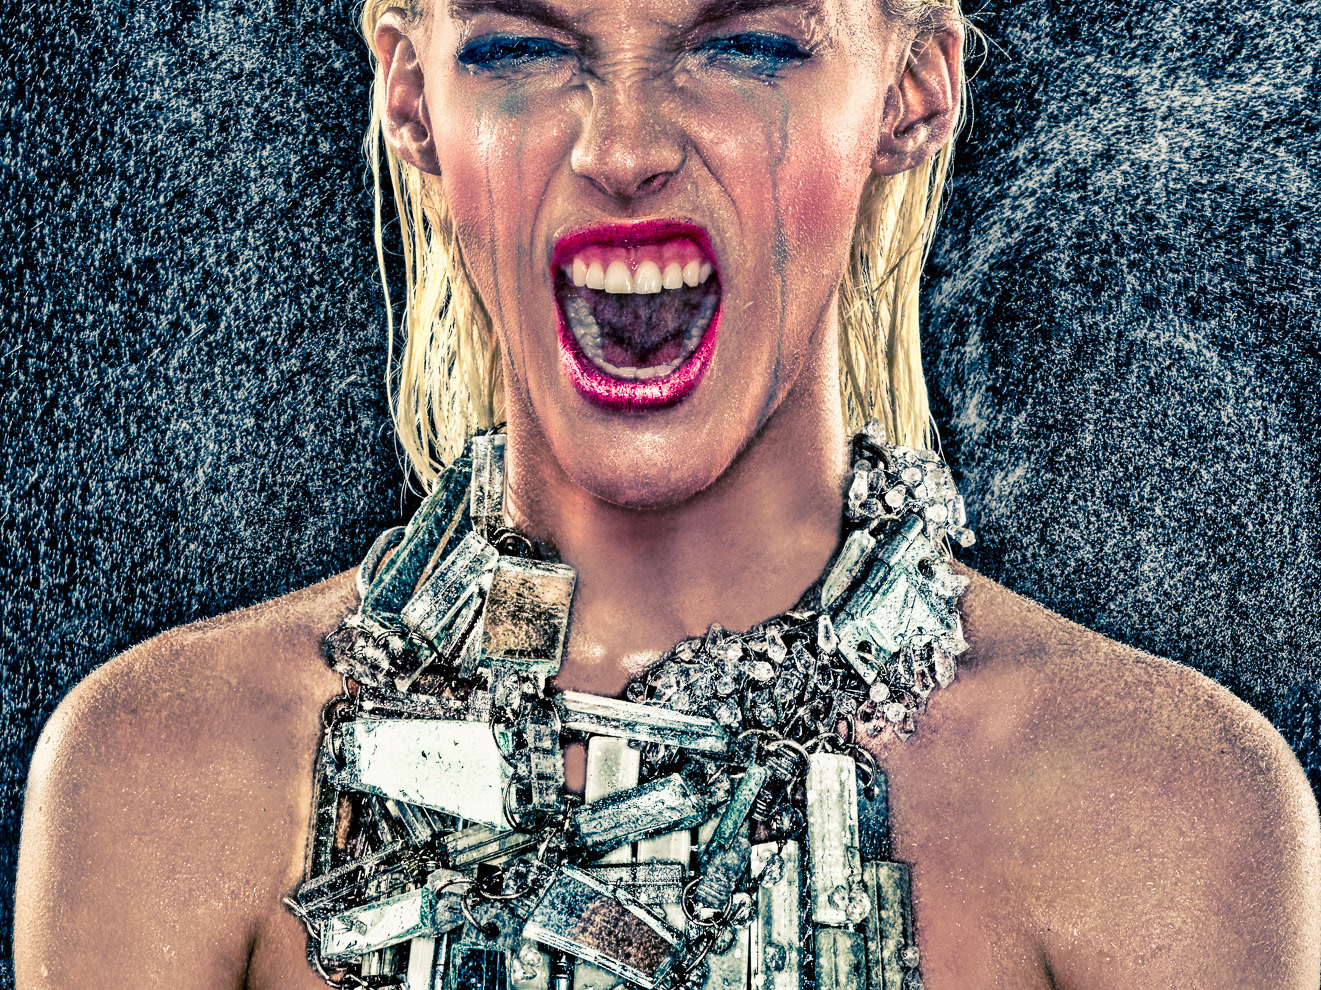
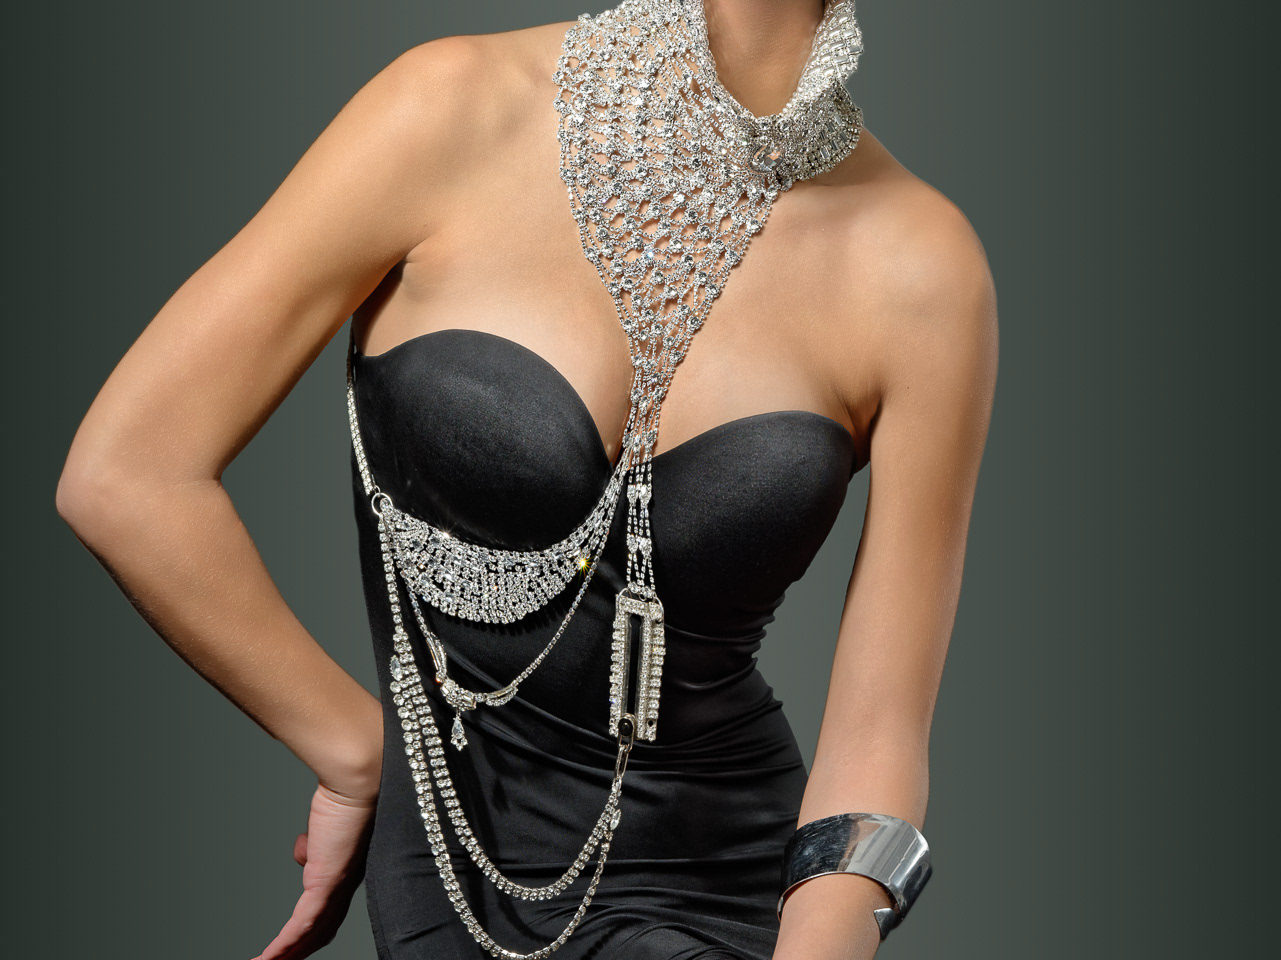
Broken Mirror Necklace, 2012
2016
Hayley Ridall for Ola Style Scores 1.0 on LaMem
2016
Megan Dillingham for Caroline Willard 2
2015
Megan Dillingham for Caroline Willard, 2011
2015

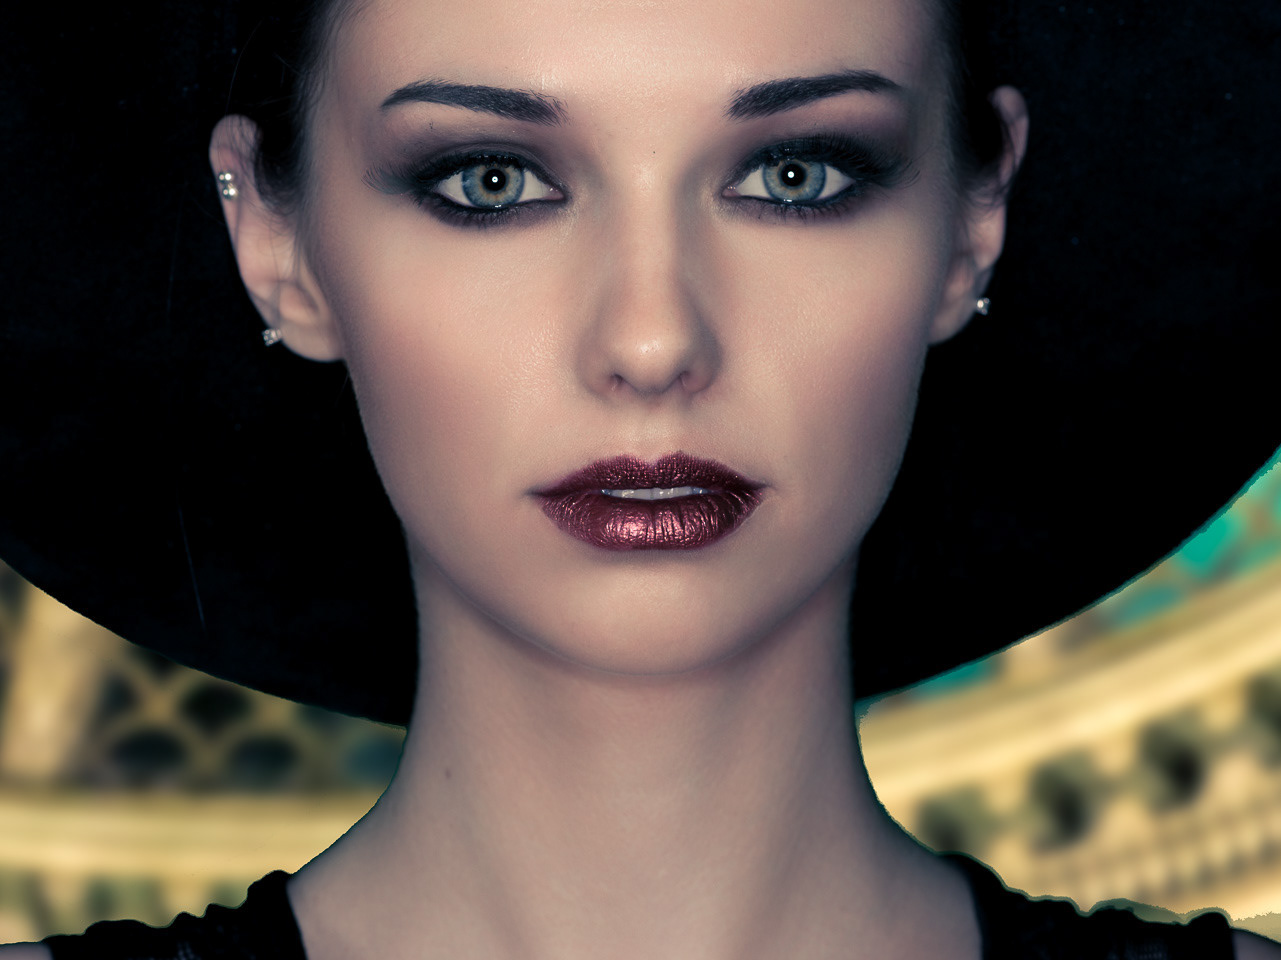
Chiaroscuro
2015
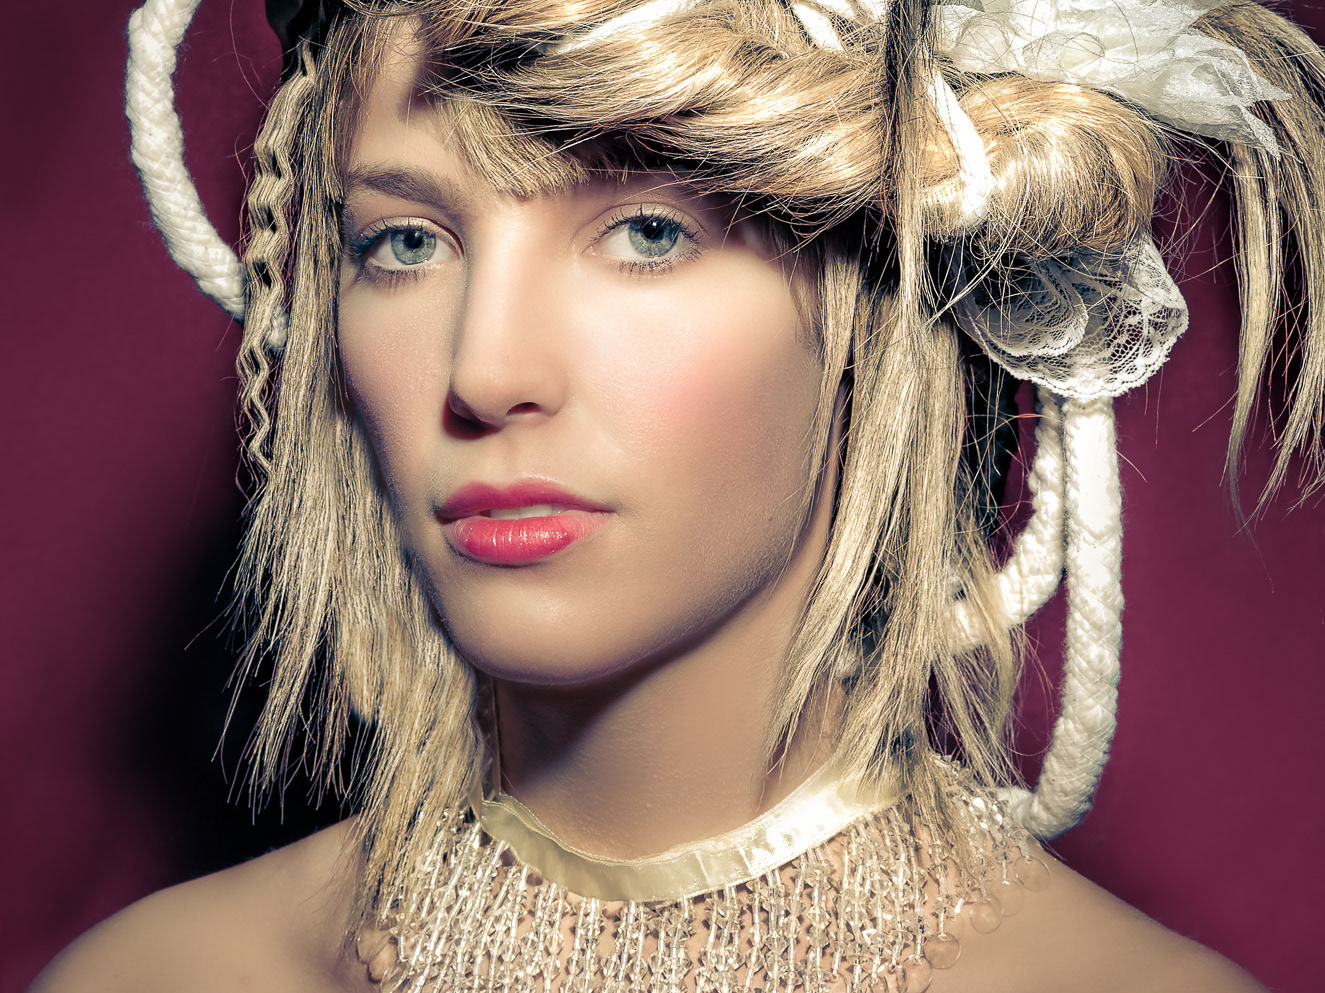
Mimi Graczyk, 2012
2015